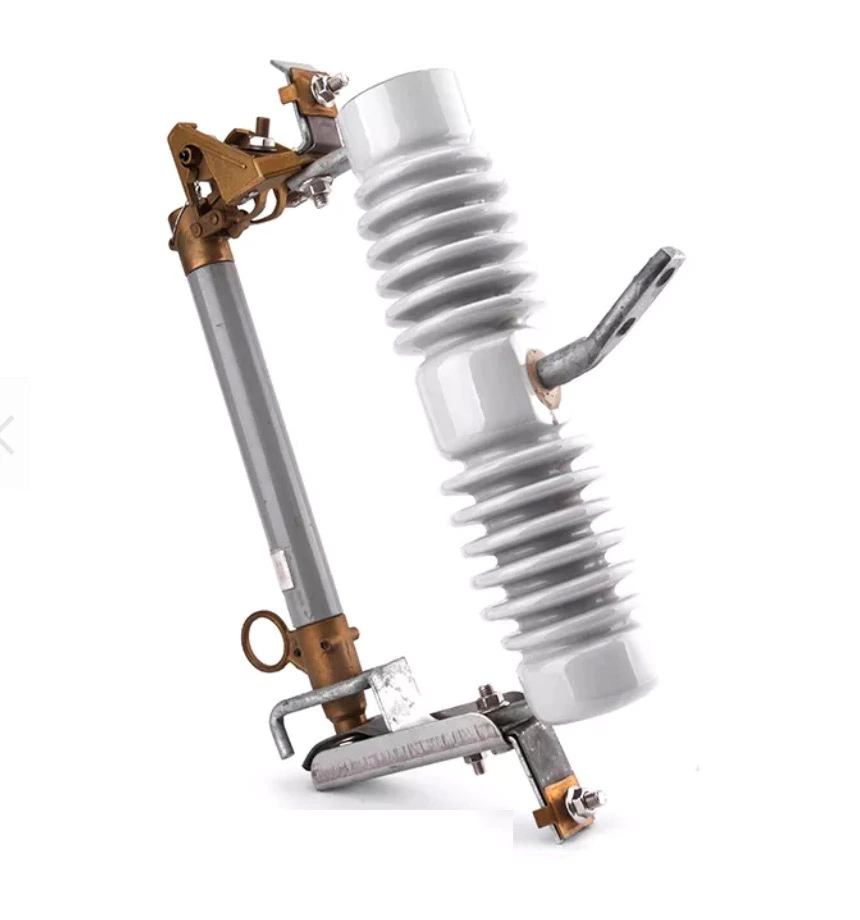
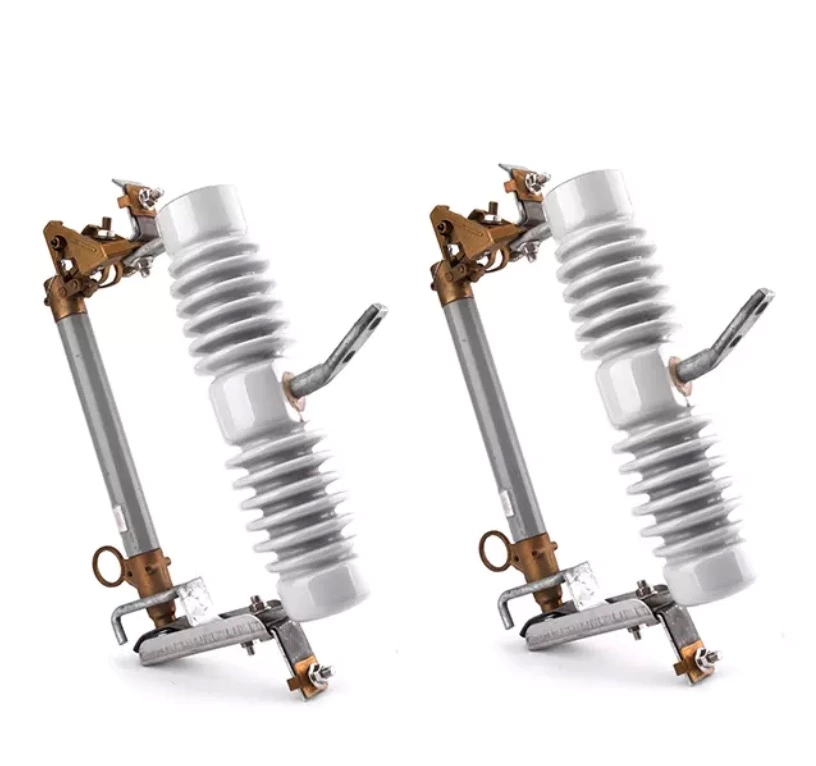
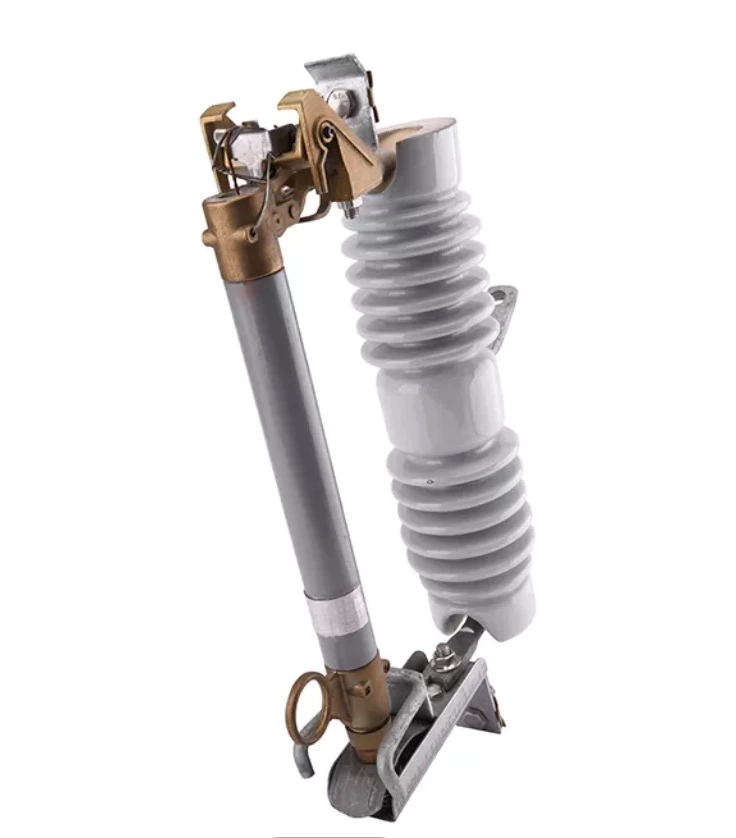
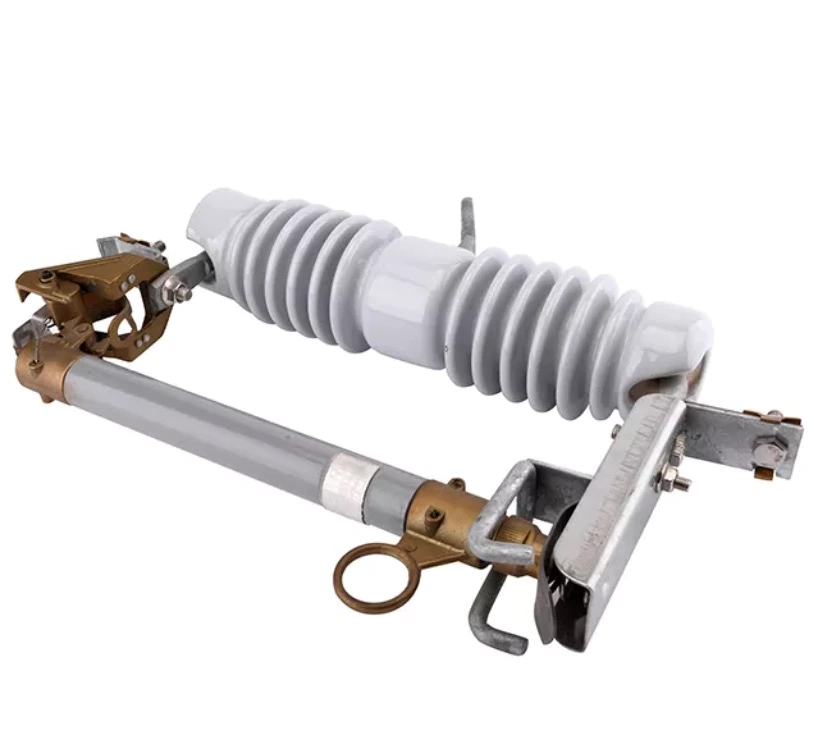
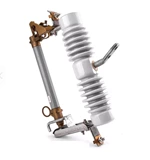
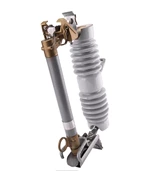
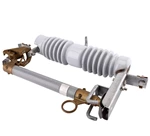
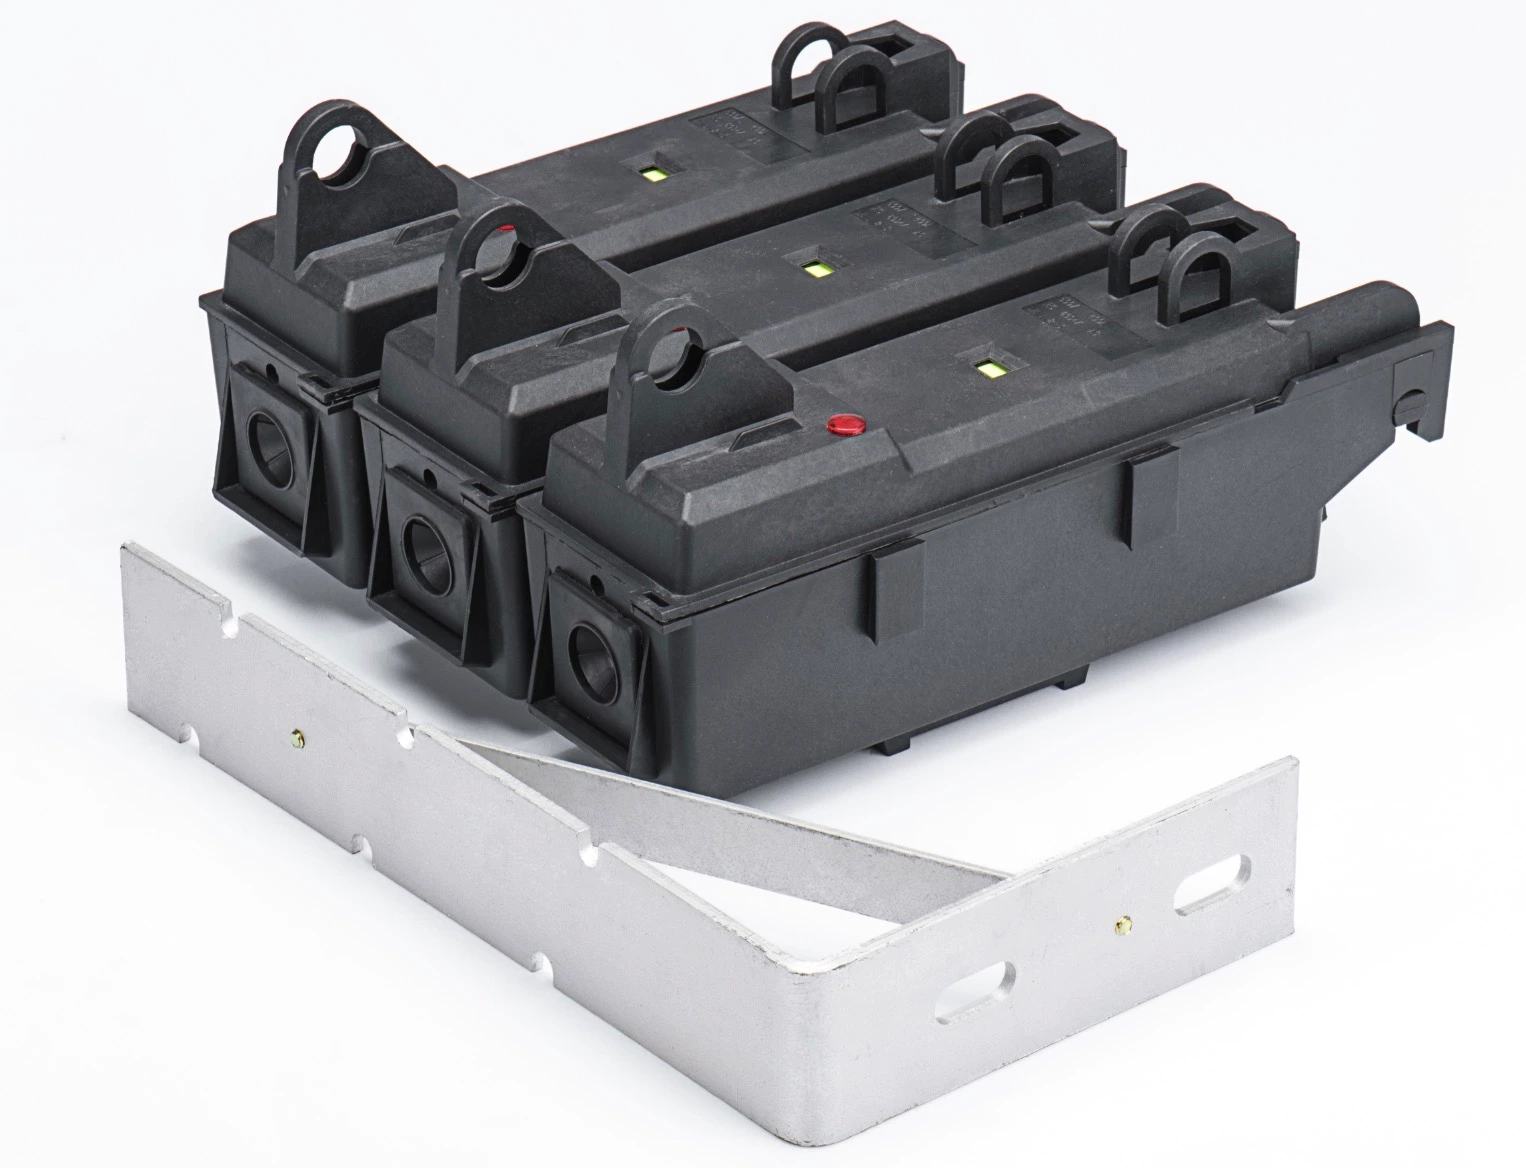
high voltage ceramic porcelain fuse drop out fuse cut out
- Standard:
- IEC 60282-2:2008, IEEE Std C37.41-2008, IEEE Std C37.42-2009.
- Supply Ability:
- 50000/month
- Voltage:
- 10-38kV
- Color:
- Gray or customized
high voltage ceramic porcelain fuse drop out fuse cut out
SMICO porcelain cutout fuse are designed for use in on power and utility overhead distribution systems to provide over-current protection and a visible indication of fuse operation. Over-Current protection safeguards and electric system from excessive currents produced by abnormal conditions such as line or equipment overloads, faults, or equipment failures. Our porcelain cutouts have a solid core, bird-proof, one-piece porcelain body.
- Excellent in arid conditions
- Long history of proven performance
Features
- Solid Core, bird-proof, one piece porcelain body
- New heavy-duty top contact with dimple prevents over-closure
- Non-expendable fuse-tube cap construction eliminates extra expense of fuse-tube cap replacement
Options
- Brackets- NEMA and Extended Versions
- Conductor Connectors- Parallel Groove or Eye-bolt designs
- Blade designs for switching applications
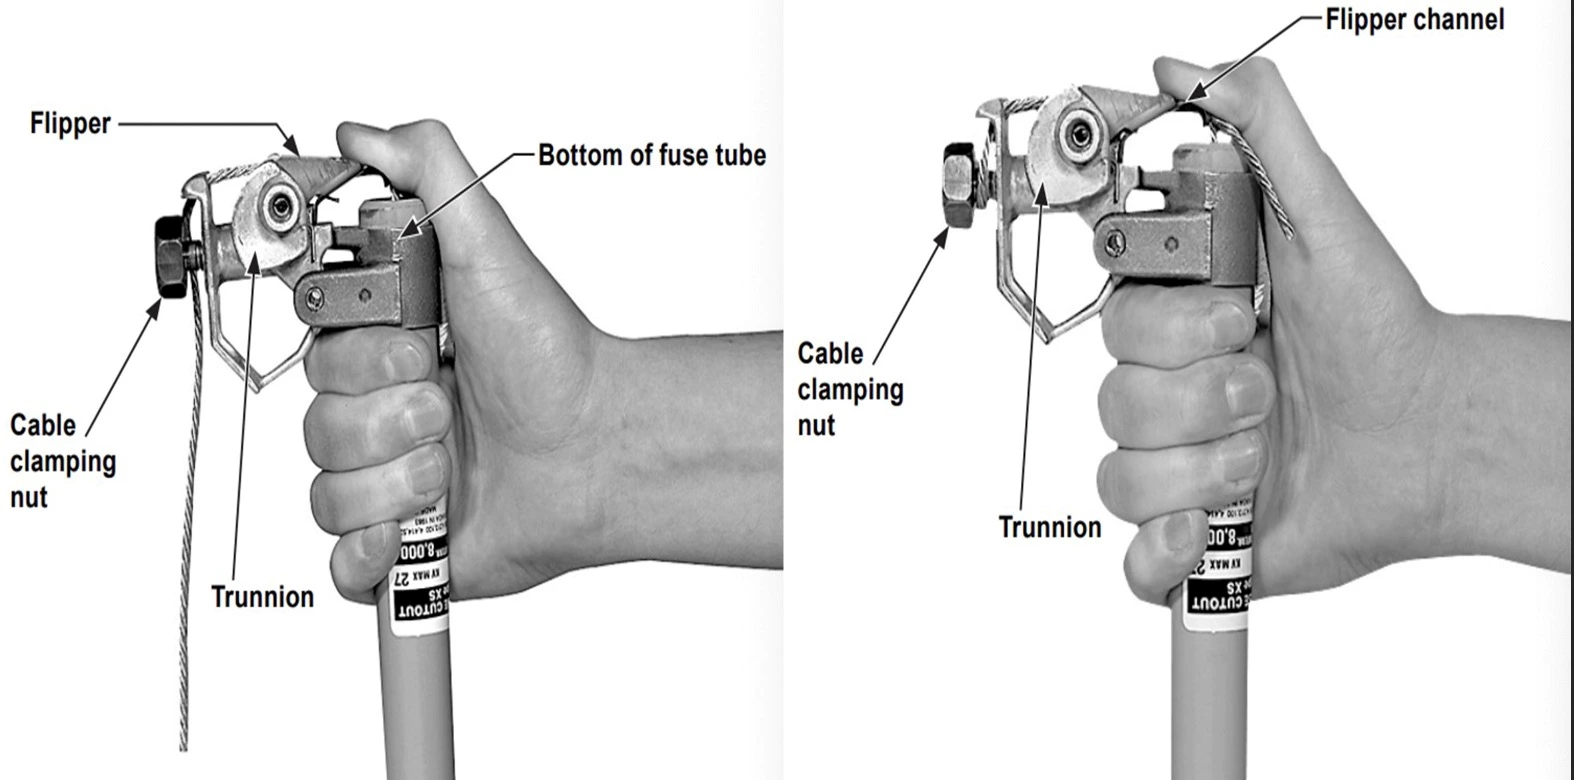
Installing the Fuse Link (Fuse Cutouts Without Arc-Shortening Rod)
Step 1.Hand tighten the contact button on the fuse link and carefully straighten the cable.
Step 2.Remove the cap from the upper ferrule of the fuse-tube assembly. Slide the fuse link, cable end first, into the top of the fuse-tube assembly and retrieve it at the lower end.
Step 3.Replace the fuse-tube cap on the fuse-tube upper ferrule and tighten the cap securely using a wrench. Loosen the cable clamping nut on the trunnion. See Figure 2a.
Step 4.Rotate the flipper fully about its pivot until it reaches its stop (firm resistance is felt). See Figure 2a. Hold the flipper in this position, and feed the cable through the flipper channel and around the threaded stud in a clockwise direction as shown in Figure 2b. Maintain tension on the fuse-link cable and firmly tighten the cable clamping nut, using a wrench. Do not overtighten the cable clamping nut.
Step 5.Clip excess cable to within 1/2 inch (13 mm) of the nut.
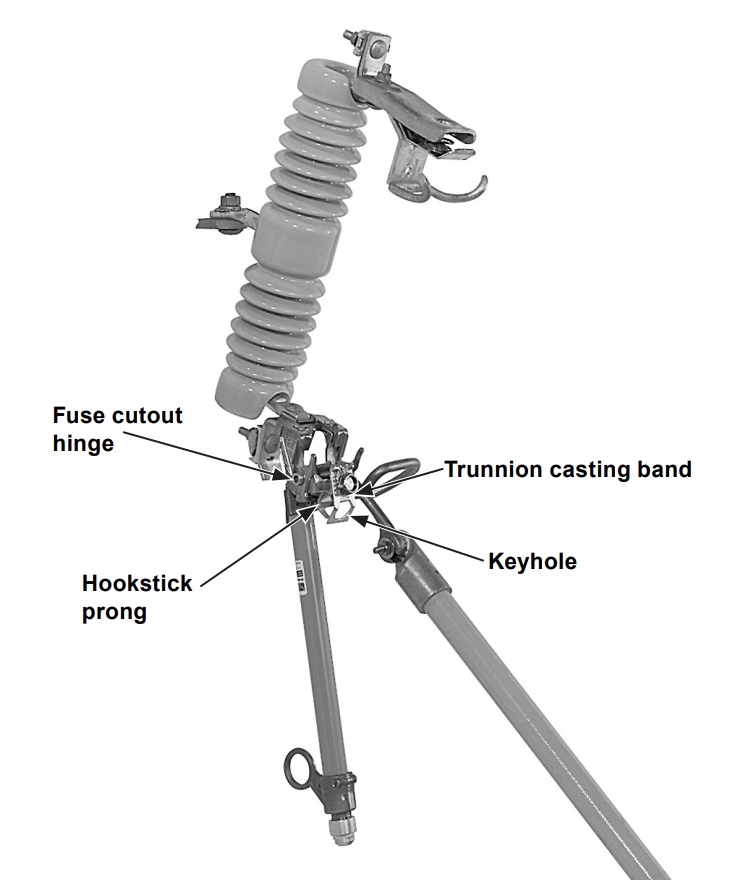
Installing and Closing the Fuse Tube
Only qualified persons should operate, inspect, or maintain a fuse cutout. Such qualified persons should wear protective equipment such as rubber gloves, hard hat, safety glasses, flash-clothes, etc., in accordance with established safety practices and be trained in their proper care.
Step 1.After installing the fuse link as described in the foregoing sections, insert the prong of a hookstick into the opening under the trunnion casting band. Or, as an alternate, insert the prong in the keyhole opening in the trunnion casting band.
Step 2.Guide the fuse tube into the fuse cutout hinge as shown in Figure 3 and disengage the hookstick.
Step 3.Insert the prong of the hookstick in the pull ring on the upper ferrule of the fuse tube and swing the fuse tube to within approximately 45º of the fully closed position. Then, while looking away from the fuse cutout, drive the fuse tube to the closed position using a vigorous thrust. Carefully disengage the hookstick taking care to avoid opening the fuse tube.
| Rated(KV) | Rated current(A) | Rated interrupting current(KA) | Lighting impulse withstand voltage to ground(BIL KV) | Minimum powerfrequency withstand dry voltage to ground(KV) | Minimum creepage distance(mm) |
| 11-15 | 100/200 | 12 | 110 | 42 | 220 |
| 11-15 | 100/200 | 12 | 125 | 50 | 320 |
| 24-27 | 100/200 | 12 | 150 | 65 | 470 |
| 33-38 | 100/200 | 8 | 170 | 70 | 660 |
| 33-38 | 100/200 | 8 | 170 | 70 | 720 |
| 33-38 | 100/200 | 8 | 170 | 70 | 900 |

